Learning Through the Creative Process
LINOCUT PRINTMAKING
JULY 2013
LINOCUT PRINTMAKING
JULY 2013
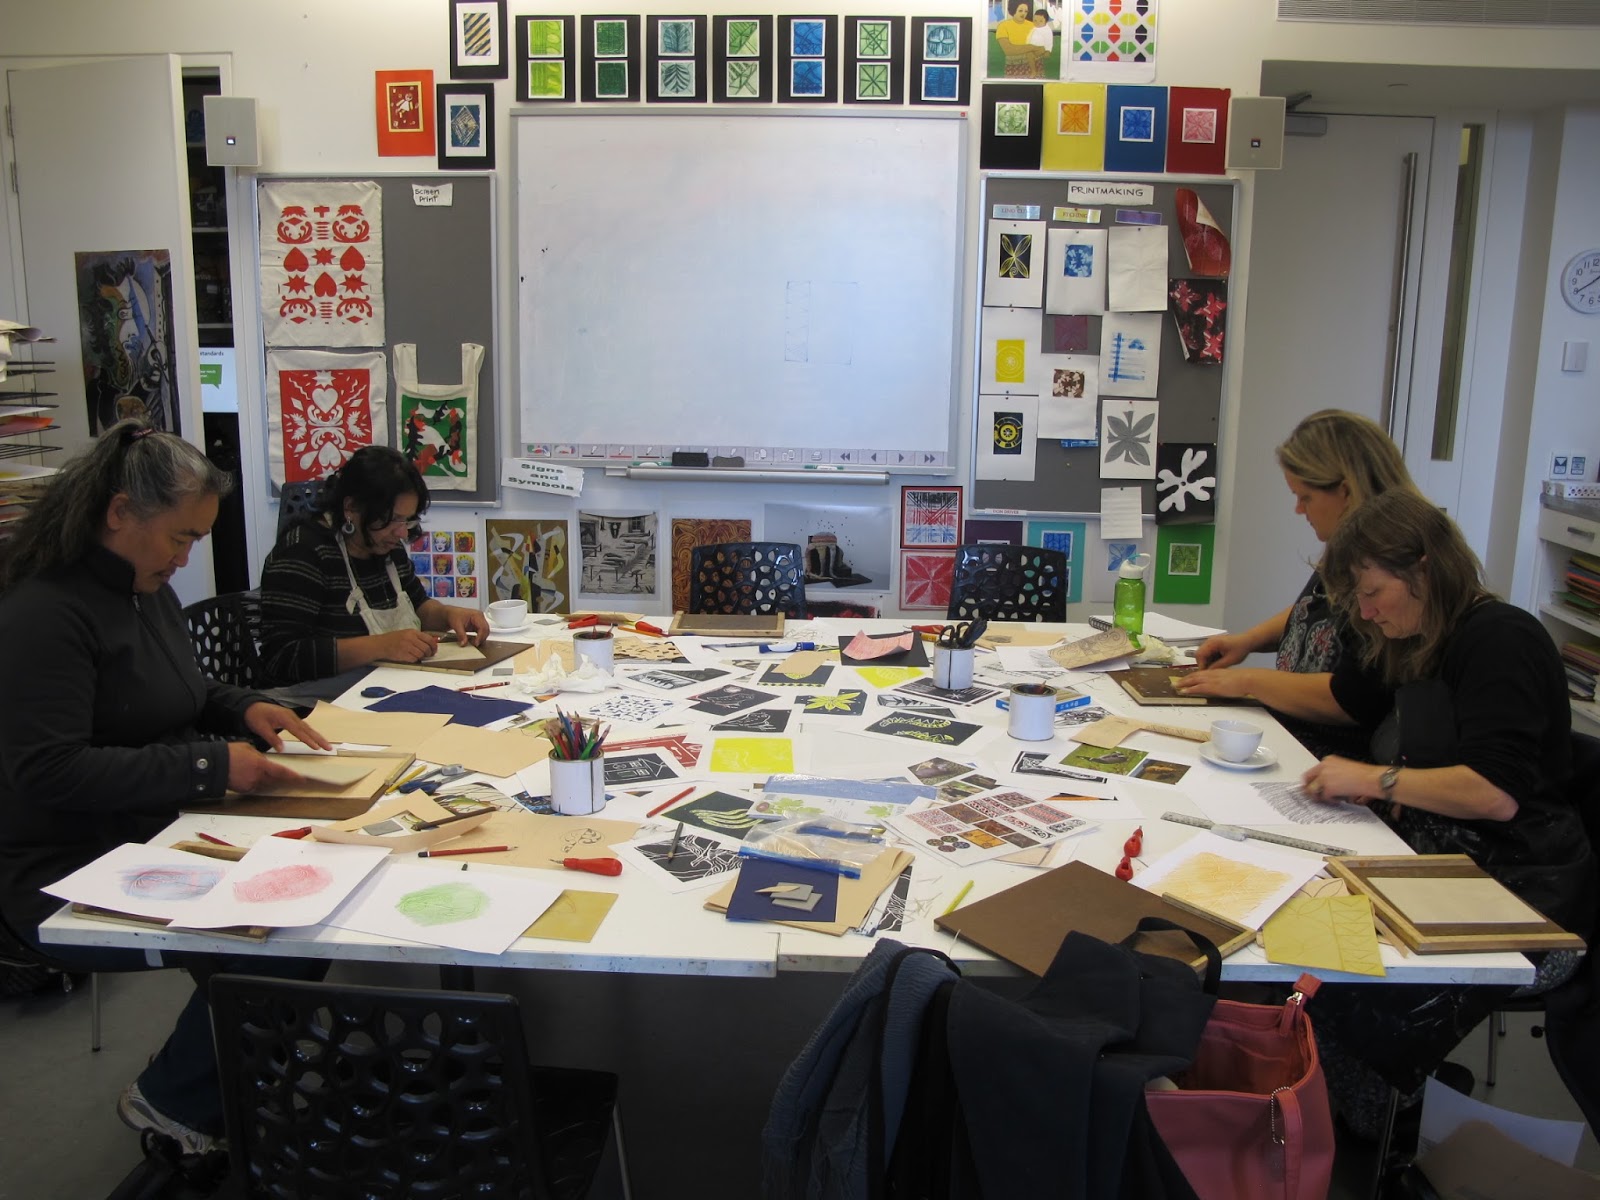
Teachers participated in another of our PLD courses on the first Monday of the July school holidays, lead by LEOTC Educator Mandy Jakich. This blog outlines the creative process we went through to learn the ideas and techniques of linocut printmaking.
EXPLORE:
We visited the back of house Gallery Print Room to learn about and make connections with linocut prints from the Gallery collection. Julia Waite, Assistant Curator, introduced the teachers to a selection of linocut prints from the Speed and Flight show, curated by Julia in 2012.
She explained the rise of the humble linocut in Britain in the 1930s and highlighted the techniques, styles and materials used by the artists.
 |
|
Sybil Andrews
Haulers 1929
linocut
Auckland Art Gallery Toi o Tāmaki, gift of Mr Rex Nan-Kivell, 1953
|
 |
| Sybil Andrews The Windmill 1930 linocut |
 |
| Sybil Andrews The Gale 1930 Linocut |
We returned to the Gallery studio to explore other linocut prints (not from our collection) which have been made with more simple designs and processes. We tried to work out the steps and techniques followed by the artists.
We returned to the Gallery studio to explore other linocut prints (not from our collection) which have been made with more simple designs and processes. We tried to work out the steps and techniques followed by the artists.


EXPERIMENT:
The techniques for using the cutting tools and protective boards were introduced and the teachers were given a chance to experiment on softcut lino and compare with a firmer lino block, using the protective cutting blocks.

Examples of designs were supplied to help with ideas and participants were given an opportunity to experiment with their design ideas. Animals, patterns, cultural designs, nature or text are examples of design ideas that work well.


We experimented with a selection of different papers:
 |
| Tissue paper |
 |
| Tracing paper |
 |
| Cartridge paper |
 |
| Baking paper |
CREATE:
For those of you who have never tried linocut printmaking or for people who need a refresher, here's a step by step guide:
Materials:
- softcut A5 lino blocks
- lino cutters and standard blades
- protective cutting boards
- tracing paper
- tissue paper
- 170gsm cartridge paper
- baking paper
- other paper you want to experiment with (such as recycled papers)
- coloured paper/card
- A4 white paper
- pencils
- water soluable printing ink
- brayers (rollers)
- printing plates
- water and brushes
- newsprint for table
First cut, ink and print
- Draw the final design on to white A4 paper. Transfer it on to the lino block by rubbing graphite on to the back of the design paper, placing it on top of the lino block graphite side down, and drawing over the design with a sharp pencil. This transfers the image on to the lino block. You may need to go over the lines on the lino so the design can be seen clearly.
- Using a lino cutter and a protective board, cut over the outlines of the design.
- Squeeze a light coloured printing ink on to a glass or plastic plate. Using a brayer, roll the ink so the whole roller is covered.
- Roll the ink on to the lino, pressing lightly.
- Carefully hold the lino on the edges, turn it upside down and place on to chosen paper. Make at least 2 copies.
- Turn the paper over and roll with a dry brayer, applying hard pressure.
- Gently peel paper off the lino block and place the print on a drying rack.
- Wash the lino block with warm water.

Second cut, ink and print
- Go back to the table. Decide on what parts of the lino block you want to add more lines to, either through adding pattern, 'colouring in' shapes or adding extra lines.
- Etch the extra lines into the lino block with the cutting tool. The first lines made will remain the colour of the paper used. All the lines cut this time will remain the colour of the previous inking. Everything else will become the colour of the second inking.
- Repeat the inking and printing process, but this time use a darker colour.
- When printing on top of the first print, make sure the paper is carefully aligned.
- Dry work on a rack. Some inks take at least 3 days to dry (white ink even longer!)
SHARE:

As a group, we looked at all of our artworks and discussed:
- What worked, what didn't?
- What problems did we have and how did we resolve them?
- What modifications did we have to make and why?
- What effects did we like/not like?
Then we talked about how we could apply this technique in our classrooms:
- Polystyrene blocks and pencils could be used instead of lino for juniors.
- Woodcut printmaking could be a good follow on from linocuts for senior children.
- Parent helpers would be good!
- The teachers went away from the course feeling like they could take this process on with their classes.
Some of their feedback :
- 'Something new I could understand so I could get the kids to have a go and experiment. Coming to this course has given me confidence and a whole lot of different ideas.' Year 1/2 teacher, Prospect School.
- 'Would strongly recommend this course to others.' Deputy Principal working with year 4-8 children, St Joseph's School Otahuhu..
- 'The hands on approach allowed us enough time to experiment and explore.' Year 1 teacher, Henderson School.
- 'I achieved my goals beyond expectation!' Year 1 teacher, Richmond Road School.
- 'Excellent. I couldn't have asked for more. I like the casual, non threatening approach.' Teaching year 1-8, St Joseph's Otahuhu.
Next PLD at Auckland Art Gallery is Learning Through the Creative Process - WIRE FIGURE SCULPTURE on the first Monday of the next school holidays: 30 September, 10am–3pm. Cost: $40
No comments:
Post a Comment